
There are many precautions for test pieces depending on their purpose.
In particular, test pieces with fatigue, tension, etc., if even a little cutting or grinding mark remains, will cause fissure therefrom, which prevents accurate values from being obtained.
Our company erases cutting/grinding marks through vertical polish using #100-#2000 paper file while checking, using a stereoscopic microscope, the important parts of the test pieces are finished by precisely cutting and grounding carried out by the supplier factory.
Rotary bending, tension, ring-on-disk, etc., test pieces/test jig
Hollow rotary bending fatigue test piece
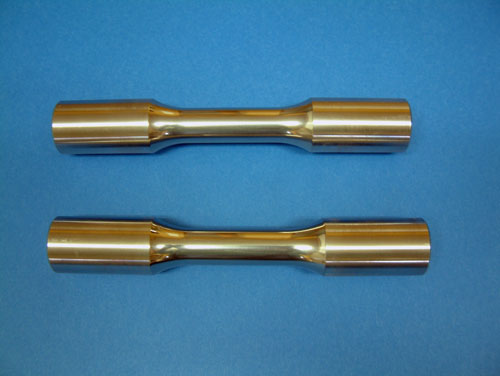
Material is SUS316NG, and inner diameter is finished by honing.。
X-ray CT fatigue test piece
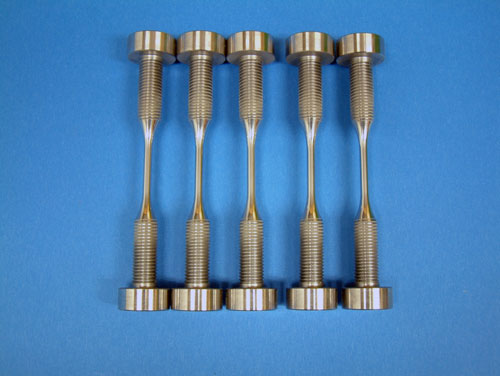
Material is SUS316NG, and inner diameter is finished by honing.。
Fatigue test piece
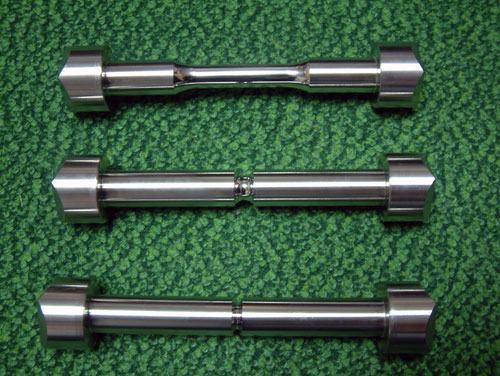
Material is SGV410 and the cutout component is lapping finished while observing the R-shape with a stereoscopic microscope.
Fatigue test piece
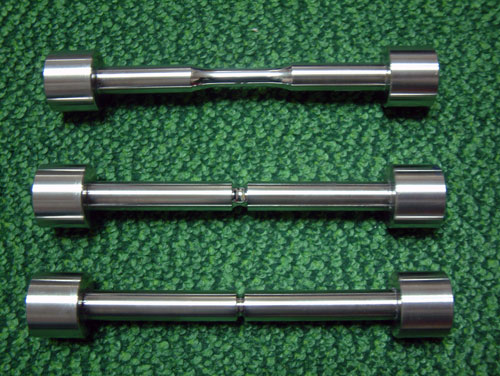
Same material as mentioned left, and the shape of the test piece is different depending on the test machine in use at the research institution.
Fatigue test piece
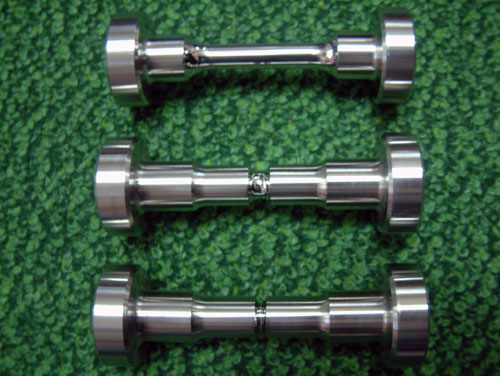
Same as above, and the raw material was cut out from a large board according to the direction of the flow of structure.
Fatigue test piece
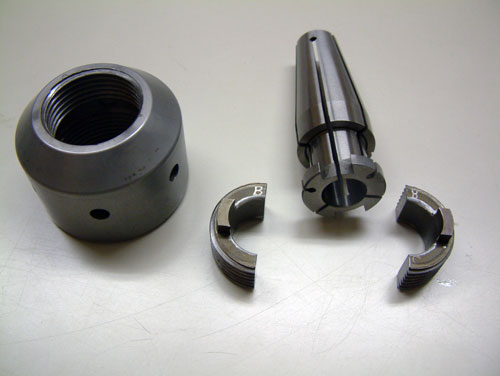
Ono-type rotary bending fatigue test machine used in universities and research institutes are no longer in production and makers are not making it anymore.
Collet sleeves, as consumable products, are drawn together with split nuts and manufactured.
Prior to test piece being finished
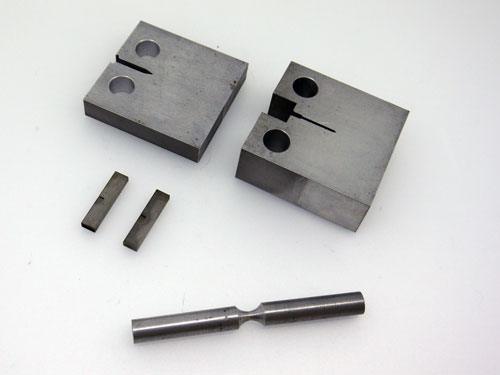
Shape is created from the raw material through wire cut or NC lathe.
Subsequently, lapping finish is performed while releasing stress of parts in which fissures are observed.
